Types Of Hand Stitches (9 Basic Types Of Stitches)
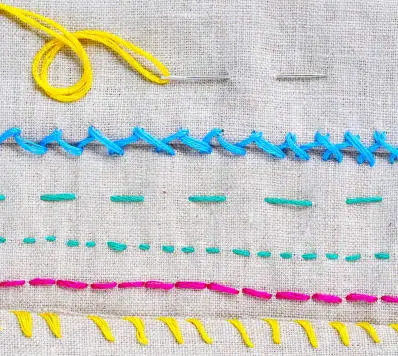
Different Types Of Stitches | 9 Basic Hand Sewing Stitches: Here are the different types of stitches. I’m sure you must’ve straight/running stitched at least once in your lifetime just to fulfill the urgency of wearing a particular little-torn dress for that particular occasion. The running stitch is the simplest among all types of hand … Read more