How To Cornrow: A Step Wise Guide
Jump To:
There are various kinds of hairstyles. Some are easy to achieve while others are really difficult. There are hairstyles that are beautiful and protective. Cornrow is one of these hairstyles. Cornrows originated in Africa and were predominantly worn by women. Knowing at least the basics of braiding can help you achieve this look. The only difference to note is that while plaits or braids hang free, a cornrow is braided to the scalp. Check out more on hairstyles and haircare tips.
Working on making and having cornrows done can be fun and a practical way of wearing natural hair. It adds style to the hair you are growing and protect the hair strands from damage like heat from other styling techniques. If you want to get simple front-to-back cornrows, then you will have to follow some simple steps. If you are ex[erienced with braiding, you can separate the hair into several unique styles that suit you. If you are wondering how to cornrow, keep reading.
Braiding Basic Cornrow
Wondering how to cornrow? Here are the steps to follow.
Step 1: Hair Wash And Detangling
Firstly you need to wash your hair and detangle it. You can use your everyday shampoo and conditioner to wash your hair. Detangle your hair while the hair is damp. Use a leave-in conditioner and brush. Apply some oil or butter to lock in moisture. Hair that is moisturized and free of tangles can be easily braided.
- There are various oils and butter that you can use to moisturize your hair and have it tangle-free. Coconut oil, shea butter, jojoba oil, argan oil, aloe butter products are some of the examples.
- You need to blow dry your hair if you have tightly coiled natural hair. This will help in getting neat braids later.
Step 2: Sectioning of hair into rows
You need to section your hair from front to back in rows. You can divide each into one to three rows. You can use bobby pins to keep them secured.
Step 3: Take the first row and divide it into three sections
Now, divide the first row into 3 small sections. Start braiding by having a rip on the hair by adding a bit of edge along the hairline.
Step 4: Braid Stitching
Now, make the first braid stitch. You can start with either the left or right section in your fingers. You can move it over and on top of the center section, replacing the center with it. While doing this you will have one hand holding one section while the other holding the other two sections.
Step 5 : Repeat the steps with other rows
You need to now add a small section of hair from the row that is underneath each braid stitch. Keep repeating this step adding a half-inch section of hair. This will keep the braid attached to the head.
Step 6 : Secure the braids with elastics
After you have finished braiding and are off your scalp, keep it secured with headbands. Finish it until there is no more hair left to braided. The length of your braid will directly depend on the length of your hair.
Step 7 : French braid
Keep braiding the same way taking each row at a time. Divide each row in three and keep braiding. French braid it till you reach the neck. Secure each section with a hairband.
Choosing a Unique Cornrow Style
Choose this method if you want to know how to cornrow in a unique style.
Style 1: Side-swept cornrows
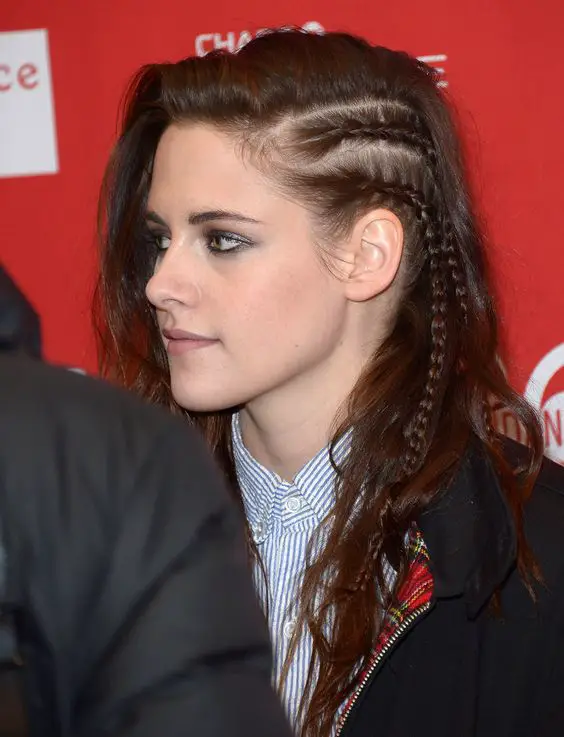
You should side-swept cornrows to get an elegant look. It is quite similar to that of front-to-back cornrows, but this is turned on its side. Firstly, you need to create three even parts horizontally that start from the ear and not vertically. Now take 1 section at a time to work on. Start braiding each side of the hair near the ear. You have to french braid each row by adding new hair every time.
- All the braids should be braided on one side, either right or left.
- They would end up in different places on the other side of the head. Use elastic hair bands to secure them.
Style 2 : Swirl Cornrows
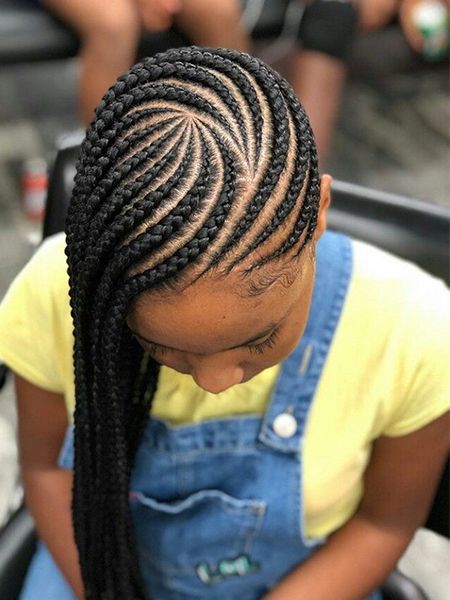
Now swirl cornrows by trying some unique styles. You can use various ways, unlike the traditional way. Now you need to create four more parallel parts so that in total you can have 5 total rows. These will make curved lines. Now keep making brands there.
- You should end the curved sections of hair at the nape of your neck that will be opposite to the curved lines. When done with the braids, you can join them to make a low side ponytail.
Style 3 : High ponytail with cornrows
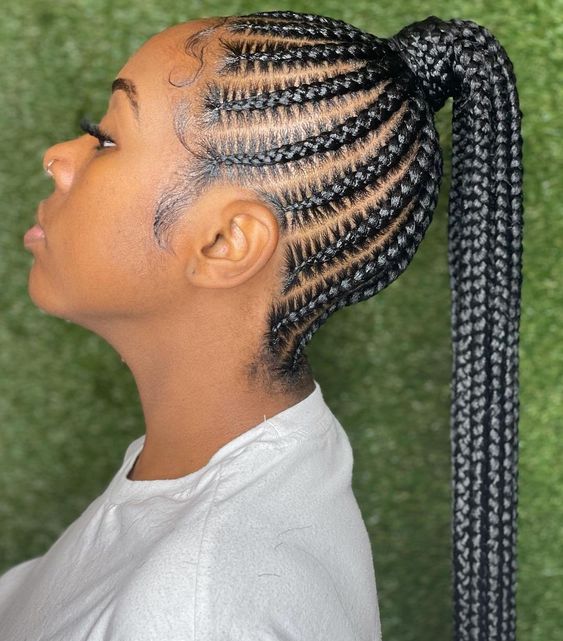
If you want you can also braid the long cornrows into a high ponytail. In case you have long hair, you can try braiding them from the beginning. Create parts and braid them back starting from the hairline.
- You can braid the rest in each row so that the ponytails have braids.
- You also have the choice of having different sized cornrows, that will be easier for someone trying it for the first time.
Style 4 : Cornrows with zig zag partition
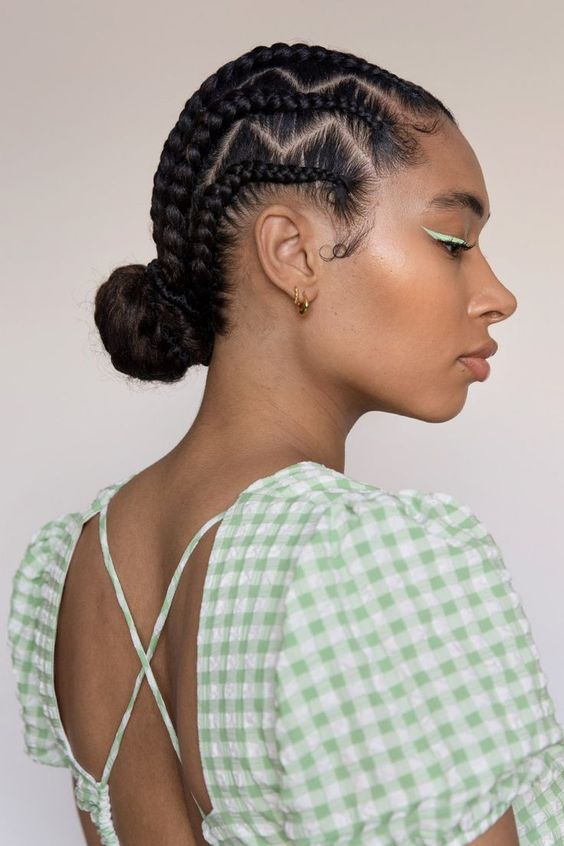
You can try cornrows with zig-zag parts so there is something new to try. You can start braiding from the start and go back while braiding it. This zig-zag pattern would be a unique style to try out.
- You can even do some part of your hair in a zig-zag way and the rest in a straight way that is done normally.
Follow these simple steps to get the two kinds of cornrow braiding. Cornrowing is not a tough hairstyle so, give it a try.
Is doing cornrows hard?
Continue to braid the section of hair, adding more hair into the cornrow as you work your way toward the end. Depending on the braider and the style, braiding cornrows can take anywhere from 15 minutes on an easy style to up to four hours on a more intricate style.
Can you cornrow wet hair?
You can choose to either keep your hair wet and in its natural state or blow it out. … If you choose to keep your hair wet, make sure you have time after the braids are done to let them fully dry before covering them with a wig or a hat.
Can you cornrow yourself?
“It is very possible to achieve cornrows by yourself if you have the patience for it,” Koudou explains. “You’ll have to make sure your hair is at a manageable length for you to braid. … All you have to do is part your hair in the middle and braid two braids going downwards.
What are Goddess braids?
Goddess braids are essentially thicker cornrows. They’re bigger in size, raised higher, and are also braided closely to your scalp. They can be styled in so many ways for every occasion; you can go from the gym, straight to work, then out to drinks, all while protecting your hair and looking superchic.
Is cornrows bad for your hair?
Cornrows. Cornrows, which pull at the roots of your hair, can cause hair loss. Wearing looser braids and changing your hairstyle after 2 or 3 months can prevent hair loss.
How do you do cornrows for beginners?
Why do cornrows hurt?
If your head hurts, it’s because your hair is braided too tightly, or you have too much extension hair added. … But tight tension is not good for your hair, hairline, and scalp. Medium tension is best for fashioning braids; they may not last as long as tight braids, but your hairline will last much longer.
