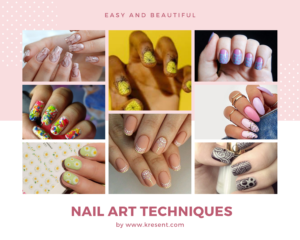
Nail Art Techniques
Jump To:
Nail art techniques are the art of drawing or painting various types of patterns on the nails. There are many techniques to jazz up your nails with exclusive nail art techniques and décor. You can also do the categorization of nail art based on these techniques. Nail art is now a trending part of vogue as it has gained lots of popularity. Some nail art techniques include painting or drawing with brushes, sponging, taping, digital nail art, etc. Check out some easy nail art to start with. In case, if you need a nail polish remover for a correction here are some easy homemade nail polish remover recipes. Here are some of the most famous nail art techniques with more explanation about how to do it.
1. Painting with a brush
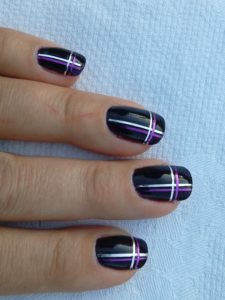
Painting with a brush is like any other painting where one can use various sets of the most suitable brushes. Our usual recommendation for brushes would be the ones with synthetic bristles.
However, it requires some minimum practice and skill to achieve perfection in giving perfect strokes. You can use various other types of brushes like flat, detail, line, dotting, etc., to constitute the different types of beautiful patterns on nails.
2. Stamping
First, the image you will print on the nail requires covering the image plate with a stumpy layer of unique nail polish for the nail stamping technique. Later you can use a scraper firmly across to only see the nail paint as a residual in the pattern. Then use a stamper in rolling oscillation to cream the image, and then this image will get inserted on the nails.
3. Digital Nail Art
Digital nail art machines are really in trend these days. The therapists or beauty salons usually use these machines. The procedure takes place automatically, and hence it takes significantly less time to get the nail art look you want. You also get to print photographs or pictures from digital cameras on your nails. However, these machines are a bit expensive.
4. Sponging
One can also use this technique for getting an achromatic and gradient kind of design on their nails. After using the sponging process, the finishing look you get would be splatter or sprinkled. You can use any sponge such as makeup, art or paint sponges, or any other sponging depending on the type of effect and design you want.
First, you need to apply the base coat and then let it dry. Then use a sponge with nail polish to apply to the nails. You can position the sponge swiftly or amiably as per the design you intend to make. You can use acetone to remove the extra edges of the nail paint.

5. Taping
Initially, apply a base color on your nails, cut the tape into small pieces, and paste it to your nails. But paste the tiny fragments of tapes to those areas of nails present in the base color itself. Then you can apply the next layer of paint you desire to use on the nail. At last, remove the tape gently.
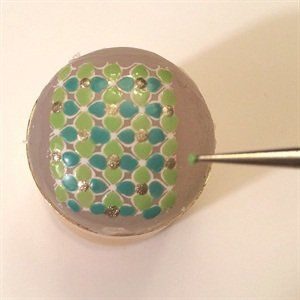
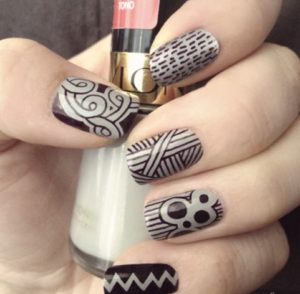
6. Stencil method
You can use stencils as a nail art technique to implant on the dry coat of nail polish and act as the background for the stencil image. Then place the stencil rigidly against the nails.
Precisely what you do in taping, paint the entire nail with a different color nail polish. After sometimes, when the nail polish dries off, remove the stencil, thereby creating a pattern similar to the stencil.
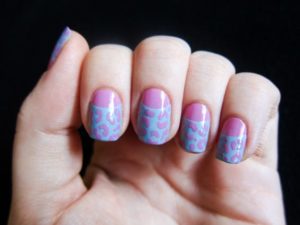
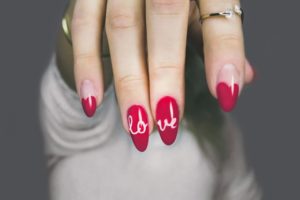
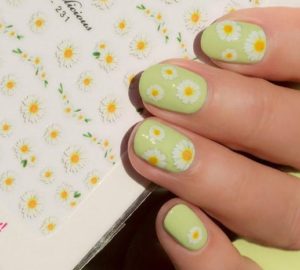
7. Nail art stickers and decals
Decals and art stickers are some of the funkiest ways to embellish your nails beautifully. For this case, you don’t need to put much effort. Also, there are many decals and art stickers to choose from in the market, so one has many choices. But you should ensure that the placement of the sticker and decals is appropriate on the nails.
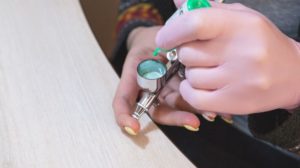
8. Airbrush nail air technique
You can usually use airbrush machines for drizzling paint on nails. You can combine this technique with stickers or stencils to get your desired look. First, you need to apply a base coat, then allow the stencil to allocate on the nail and use the airbrush machine to paint the wishful design. Then remove the stencil slightly and use acetone to paint if it got split in few cases.
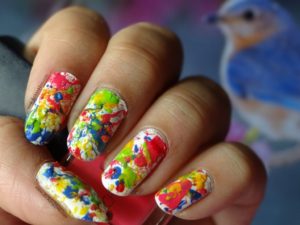
9. Splatter nails technique
You can use a fan brush stroke to make chic-looking splatter nails, but the home remedy for using an old toothbrush for the same effect can be just as effective. You will get a striking, colorful, cool nail graffiti look with this technique hence avoiding all the mess through paint.
10. Sharpie nail art technique
These nails have a resemblance to watercolor paintings, and they look very colorful and lovely. You can also use these sharpie techniques to make precise and intelligent designs.
Even if you don’t possess a moist dish, you can write roughly on some wax paper or use a plastic sandwich bag. But do ensure that the design you desire to get fully dry before you add on the final topcoat, or else you will smudge everything and ruin all your hard work and energy.
11. Water marble nail art
Water marble nail art involves dropping nail veneers into crystal clear water and creating a pattern on the water surface, then deport the way to the nails. People use This technique very commonly these days to make multiple designs from the water marble nails technique.
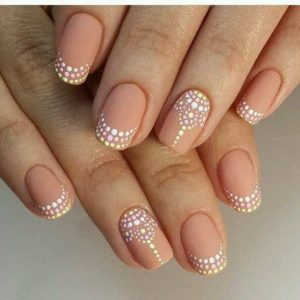
12. Polka design
If you desire to give yourself a super quick manicure, then the classic and chic polka dots lead the way. All you need is two different nail paint and a bobby pin. Start by putting a base coat on your nails with one of the colors you have selected and allow it to dry thoroughly. Next, dunk the round tip of the bobby pin in the other color and apply it to your nails to construct a polka dot look. Just how easy it is, right?
Take Away:
One can also go for any combination of the above-given patterns or techniques with the stickers. This is a very creative ground, so everyone gets to experiment with whatever methods they want. It might differ from person to person and depends on their creativeness and imagination.
The most significant thing that lies is to take good care of the nails with cuticle oils and moisturizer so that they give a healthy and tidy look and appear more graceful with the nail art techniques on them.
You have to keep patience and keep on practicing to get a perfect look. As the old saying goes, practice makes one perfect you will also be able to perfect your nail art after lots of practice. All the best for your nail art painting journey!
