How To Make A Scrunchie – DIY Scrunchie
Jump To:
So excited that scrunchies are back. These DIY Scrunchies are easy and it is a fabulous way to use up odds and ends of fabric. Choose the best fabrics to make Hair Scrunchies are fabrics that are easy to sew and do not fray. Actually, you can use just about any fabric to sew scrunchies. Try making satin, silk, flannel, polyester, or velvet scrunchies to suit your occasion or outfit. Stretchy knits make great scrunchies but are trickier to work with. You can even upcycle old t-shirts or other clothing. Learn how to make a scrunchie here today! Check out some trending scrunchie hairstyles.
Making a hair scrunchie is a quick and easy sewing project that’s perfect for beginning sewists. Scrunchies are inexpensive to make, too! One scrunchie takes just 15 minutes and $1 worth of fabric and materials. You can make scrunchies with or without a sewing machine.
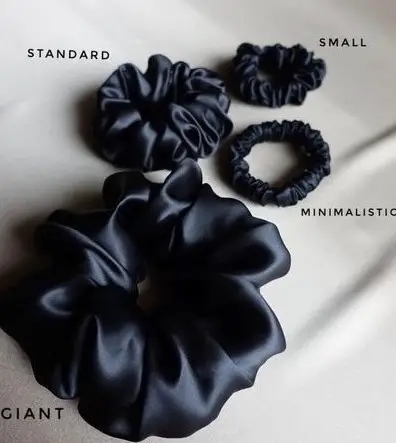
Scrunchie Sizes:
Mostly standard-sized scrunchies are used. But there are different sizes. From minimalistic to small to standard and big. Each is used in different styles. You’ll see some types of scrunchies made with different materials, different prints, etc.
How long should scrunchies be?
Scrunchie Measurements:
Cutting instructions:
- Minimalist – Cut a piece of fabric 2 x 20 inches (5cm x 51cm)
- Small – Cut a piece of fabric 2.5 x 20 inches (6.5cm x 51cm)
- Standard – Cut a piece of fabric 3 x 22 inches (7cm x 56cm)
- Giant – Cut a piece of fabric 3.5 x 22 inches (9cm x 56cm)
Supplies:
- Fabric – woven, velvet, stretch velvet, satin (just about anything will work)
- 1/4 inch elastic with 8 – 9 inches in length
- Safety pins or all pins
It should be about 4 inches (10 cm) long, or 1 inch (2.5 cm) more if your hair is extra thick. Measure the fabric. Your final piece of fabric should be about 8 inches (20.32 cm) long and 4 inches (10 cm) wide if you use 4 inches (10 cm) of elastic.
You can use either knit or braided elastic – either will work for a scrunchie. Light- to medium-weight woven fabrics are easiest to work with for beginners – quilting cotton is ideal. For a different feeling, try a lightweight stretch velvet or velour, but pay attention to the nap of the fabric.
How To Make Scrunchies?
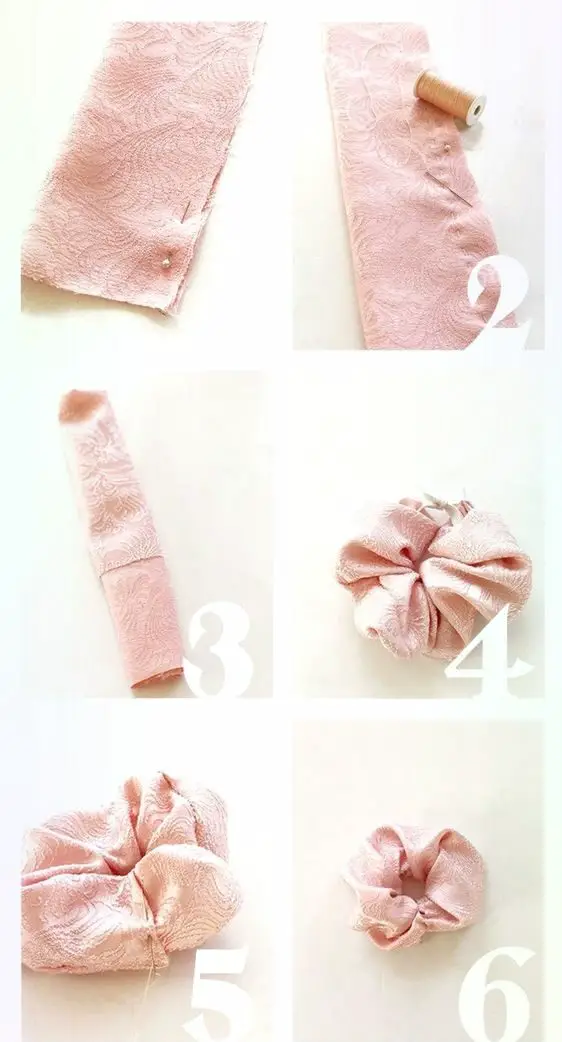
Step 1 – Fold over one end
If your fabric frays, then press over one of the short ends by 1/2 inch (12mm) on the WRONG side. For Lycra scrunchies or fabric that doesn’t fray such as knits, you can skip to the next step.
Step 2 – Stitch
Fold the length of the fabric with the wrong side out, that is the right side facing each other after the fold. With a 1/2 inch seam allowance stitch the loose ends together.
Step 3 – Turn Right Way Out
With the help of a safety pin, we pull the right side out. To do this, secure the safety pin at the corner and turn the pin around into the tube and pull the pin from inside to the other end. Similar to threading your pajama.
Step 4 – Press
If you are using a cotton fabric then give it a good press. For Lycra fabrics, just try and flatten it out a little with your fingers. The seam should be on one side of the tube so it is not easily visible.
Step 5 – Thread the Elastic
Now attach the safety pin to the elastic and thread it through the tube. Make sure you pin the first end so it doesn’t pull all the way through by mistake. Your fabric will gather on top of the elastic.
Step 6 – Stitch the Elastic
You can stitch the elastic ends to make a loop by overlapping ends or you can just knot it by combining the ends. Make sure you cut an extra 1/2 inch of elastic when want to knot so that knotting will not reduce the length.
Step 7 – Final Stitch of the Ends
Pull the elastic around so the join is hidden. Then feed the raw edge of the tube into the pressed edge. If you used Lycra fabric for your DIY scrunchie and don’t have a pressed edge then just put one end into the other. Overlap it by 1/2″ (12mm) so the inside raw edge is hidden.
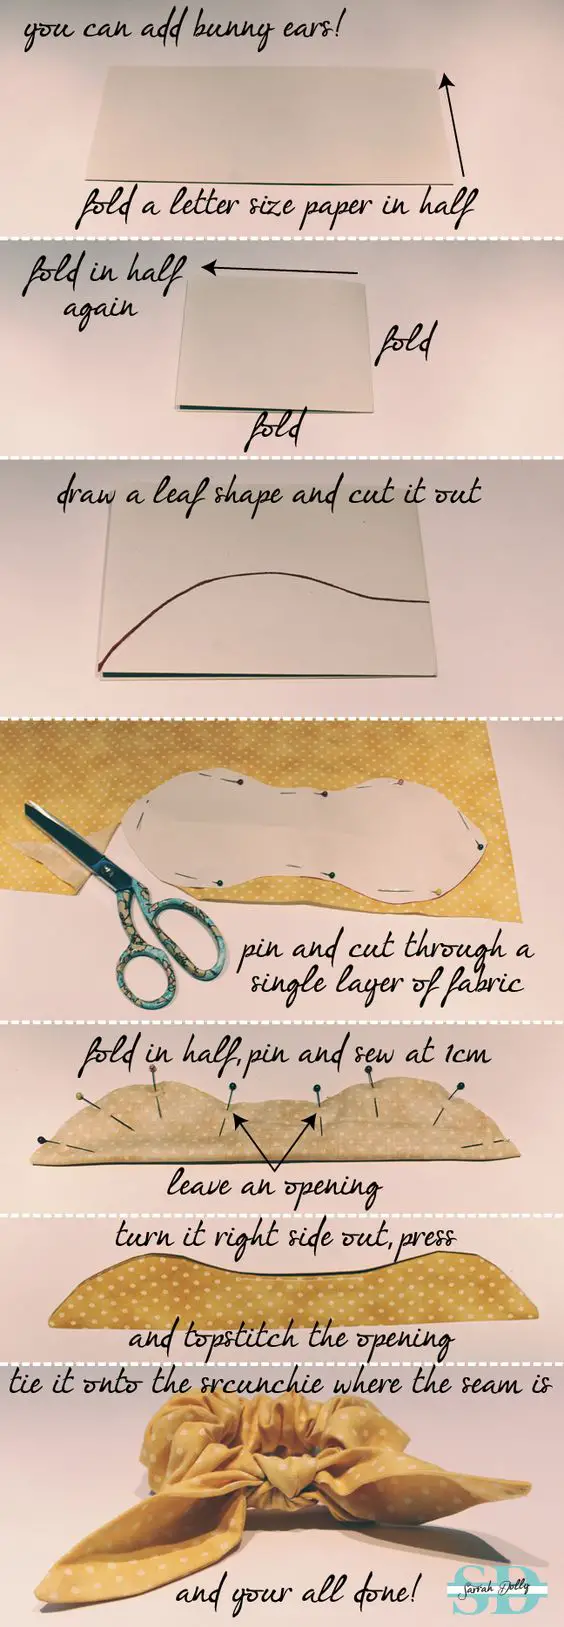
How To Make A Scrunchie Bow?
How To Make A Scrunchie Without Sewing -DIY Scrunchie With Hair Ties:
You can use hot glue instead of sewing to make a scrunchie without sewing. Or, here’s another fun way, DIY scrunchie with hair ties.
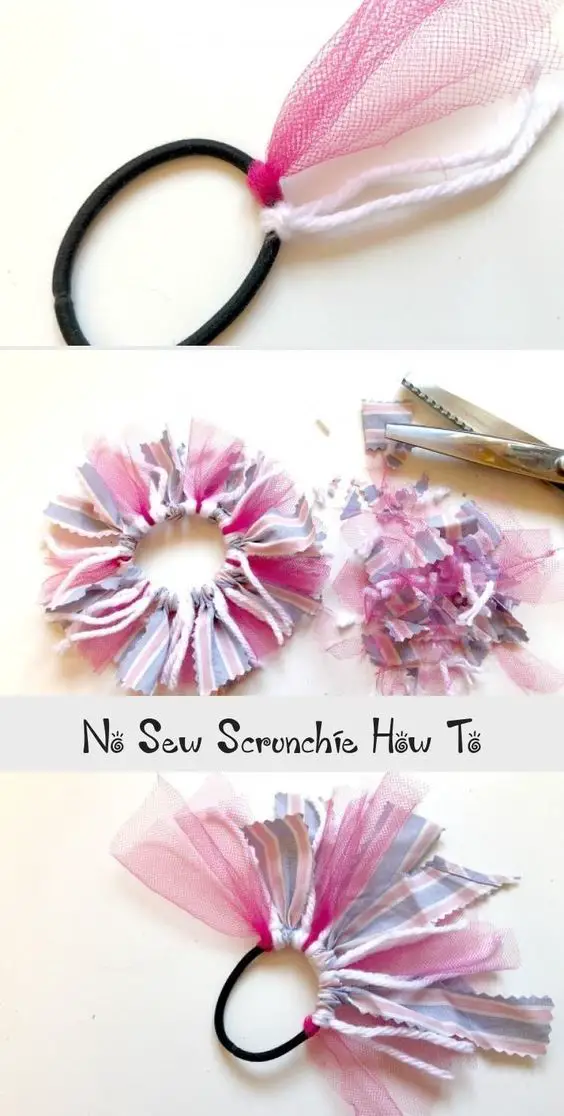
Take out the fabric scraps you like. This no-sew DIY scrunchie can be done even with small pieces of your chosen fabric and hair tie. Here you can see:
- a woolen thread in white
- pink mesh
- pastel colors blue pink fabric
These strands are knotted in a larks head knot style to the hair tie alternating each type of fabric strand. You can use permutations and combinations with the fabric strands to get different patterns. Let see how a larks head knot works.
Larks Head Knot:
The larks head knot is a basic, simple, and easy knot to start with. Usually, knots are done with two open-ended pieces or threads. But Larks Head knot did when you have a loop, ie without loose ends and a piece of fabric or thread.
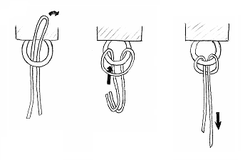
Larks Head Knot Steps:
- Fold your thread or fabric and pass it through the loop. Make sure you have the folded end and loose ends on either side of the loop. The thread passes from inside of the loop.
- Pick the loose ends together and take them to the folded fabric end side from outside of the loop. Take the loose ends into the loop formed with the folded end.
- Pull the loose ends strong and your larks head knot is done.
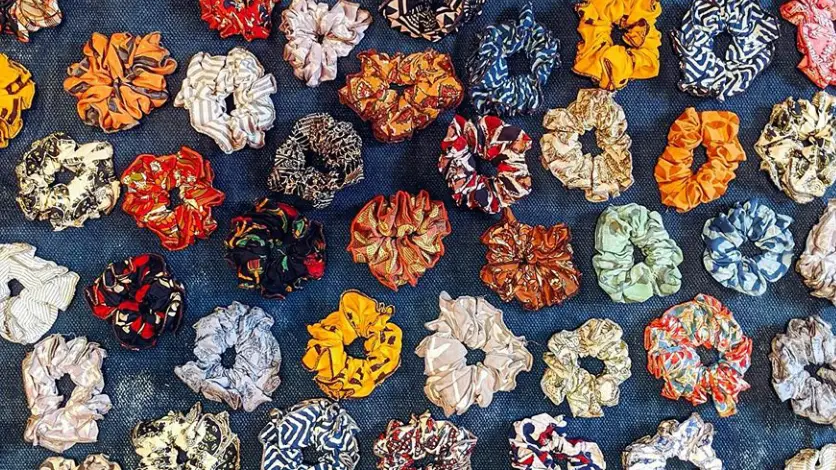
Types Of Scrunchies:
There are as many types of scrunchies as there are as many types of fabrics, colors, prints on fabrics, etc. There is no limit on how creative can you get in making a scrunchie or finding one for you. Here are some with a broad spectrum of varieties.
Knit fabric scrunchie
If you’re using knit fabric, you may be able to stitch on the round on your sewing machine, while stretching the scrunchie, using a zigzag stitch. Turn the scrunchie right side out from the gap. Press. Attach a safety pin to one short end of the elastic and feed it through the gap of the scrunchie.
Tulle scrunchies
Cut out a piece of soft tulle 45 x 10 cm (18 x 4 inches). Fold the fabric in half lengthwise with the right sides together. Sew along the long edge using a 1 cm (3/8 inch) seam allowance – you should have a tube with two open ends. Don’t forget to backstitch at the beginning and at the end of all your stitching!
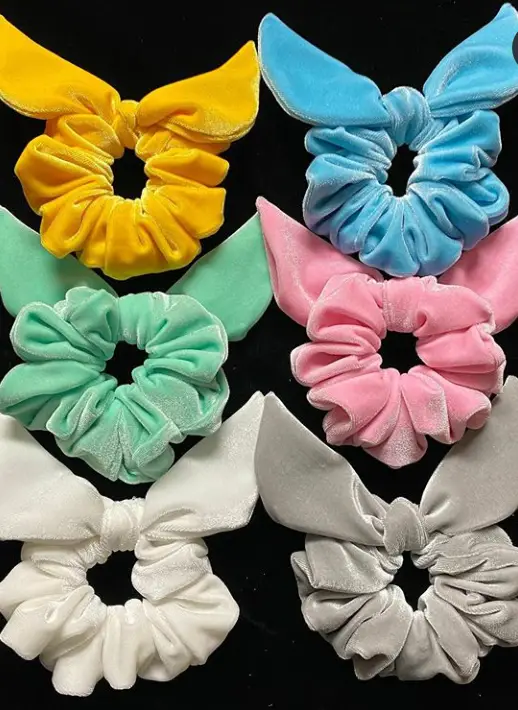
Velvet Bow Scrunchie:
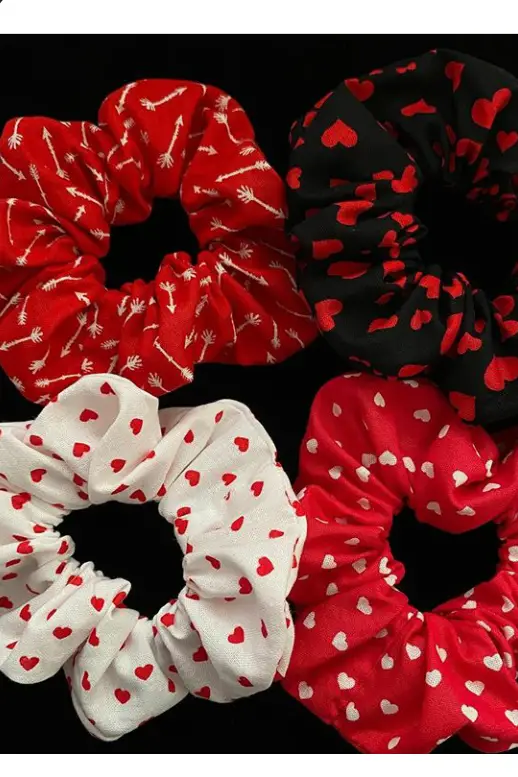
Geometric Print Scrunchie:
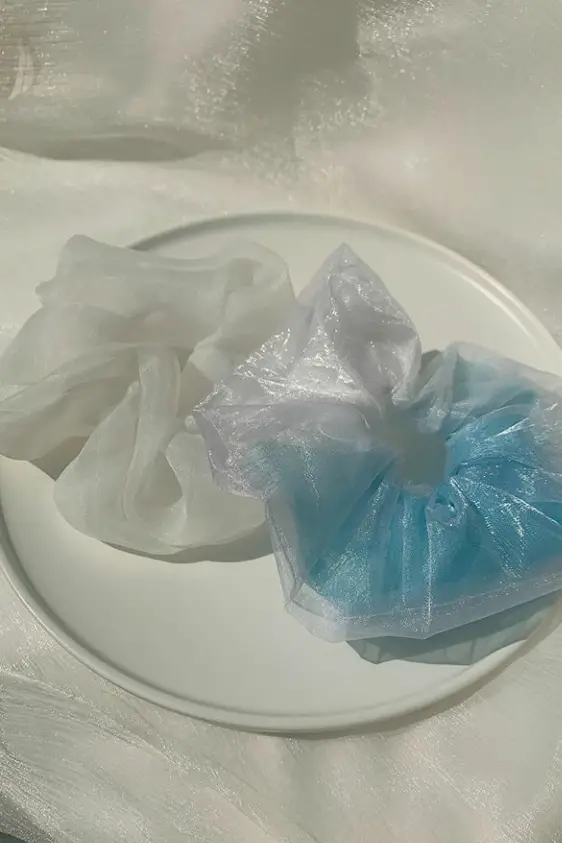
Organza Scrunchie:
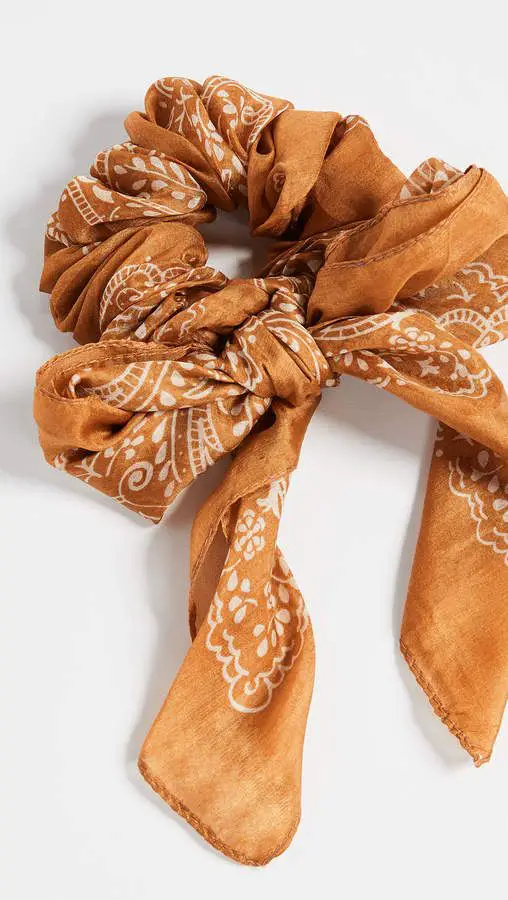
Neckerchief Scrunchie:
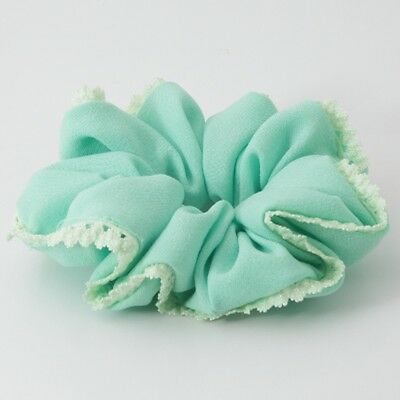
Lace-Trimmed Scrunchie:
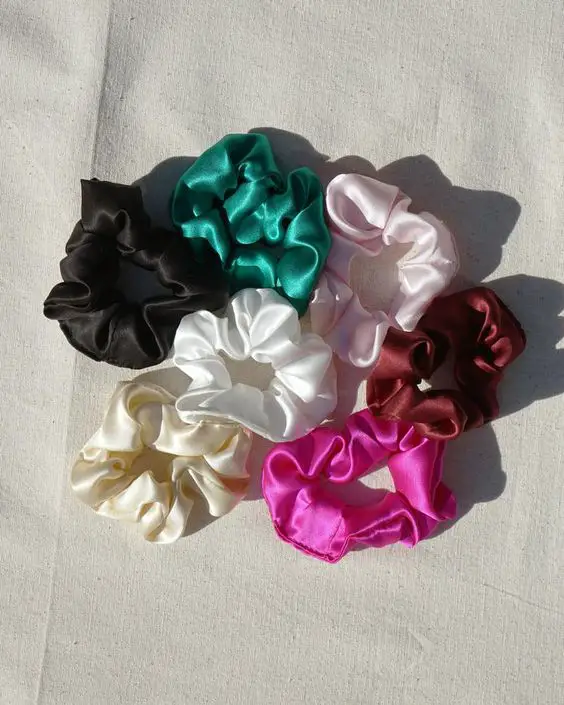
Satin Scrunchie:
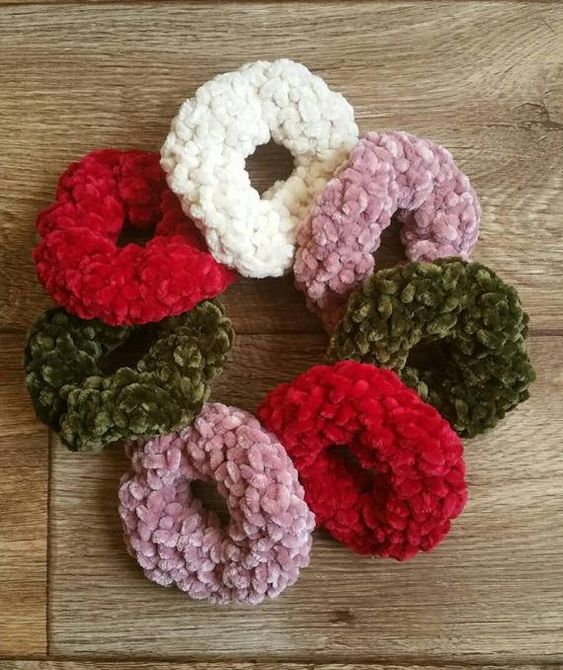
Crochet Velvet Scrunchie:
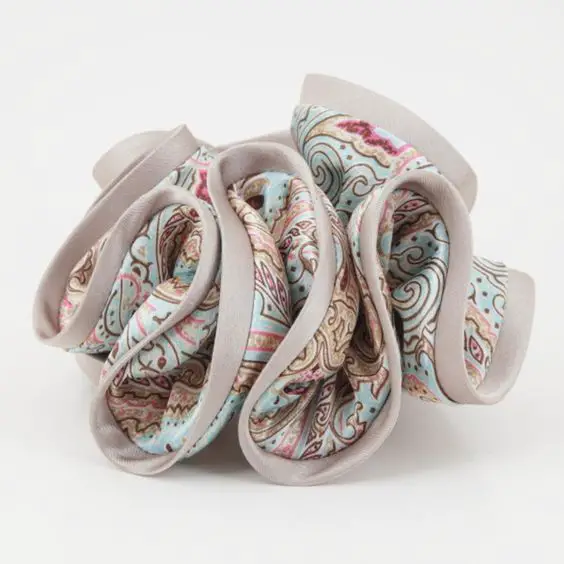
Paisley Print Scrunchie:
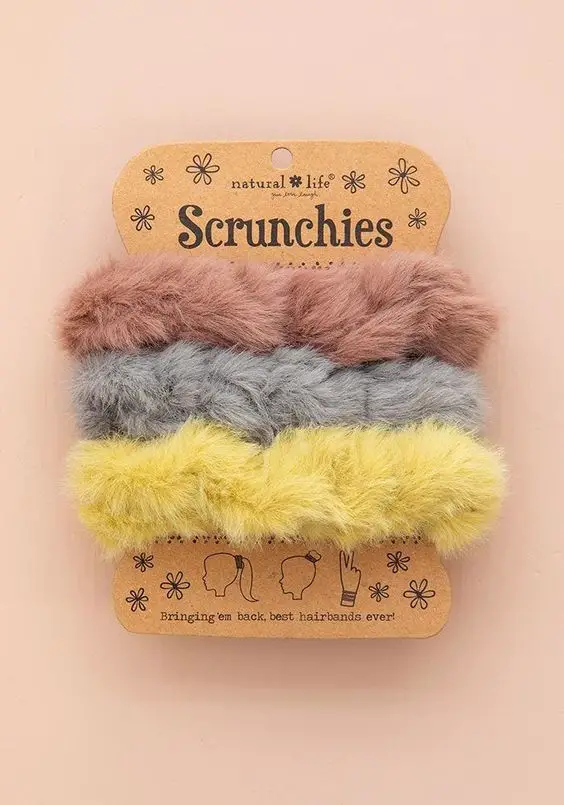
Furr Scrunchie:
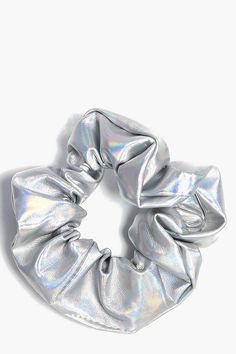
Metallic Scrunchie:

Lovelyy..thank you for sharing.